如何使用 One Time Password 加強 Ubuntu 伺服器 SSH 安全性
伺服器經常成為駭客嘗試攻擊的目標,因此保護系統的重要性變得非常重要。
如果你在家中有重要的系統,那麼如何低成本地加強系統的安全性就變成一個很重要的議題。
本文將會介紹各位如何使用 One Time Password (OTP) 來加強 Ubuntu 伺服器 SSH 安全性。
遭受的攻擊
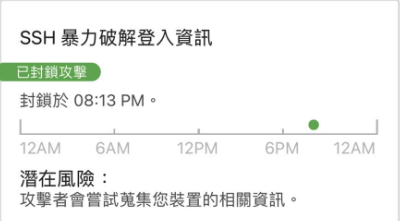
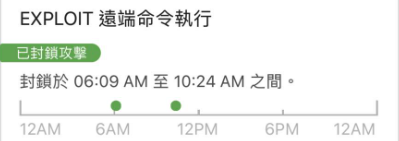
每天,伺服器都可以攔截幾次這樣的攻擊。
目前很慶幸的是都顯示成功封鎖,怕的就是哪一天需要面對被攻擊成功的情況。


什麼是 One Time Password
一次性密碼 One Time Password (OTP) 是一種僅能使用一次且具有時效性的密碼。它通常用於增強身份驗證的安全性,以防止未經授權的存取或惡意活動。
OTP 產生的密碼在每次使用後就會自動失效,因此即使有人截獲或竊取了密碼,他們也無法在後續使用中再次利用它。這使得 OTP 成為一種強大的安全機制,可用於保護帳戶、系統或應用程式的存取。
通常,OTP是通過結合金鑰和時間來產生的。
在身份驗證過程中,用戶需要提供與伺服器或系統事先共享的金鑰與時間來計算出現在才有效的 OTP。
OTP 的一個常見應用是 Google Authenticator,它基於時間的一次性密碼(TOTP)演算法產生一系列 OTP。用戶可以將 Google Authenticator 應用程式安裝在手機上,以產生和輸入對應的 OTP 進行身份驗證。
總而言之,One Time Password(OTP)提供了一種安全、一次性的身份驗證方式,使得帳戶和系統更具保護性。
安裝 Google Authenticator PAM module
在 Ubuntu,我們可以使用 Google Authenticator PAM module 來實現 One Time Password 的功能。
首先,我們需要安裝 Google Authenticator PAM module。1
2sudo apt update
sudo apt install libpam-google-authenticator
初始化 Google Authenticator
接著,我們需要設定 Google Authenticator,記得先在你的手機安裝 Google Authenticator app。1
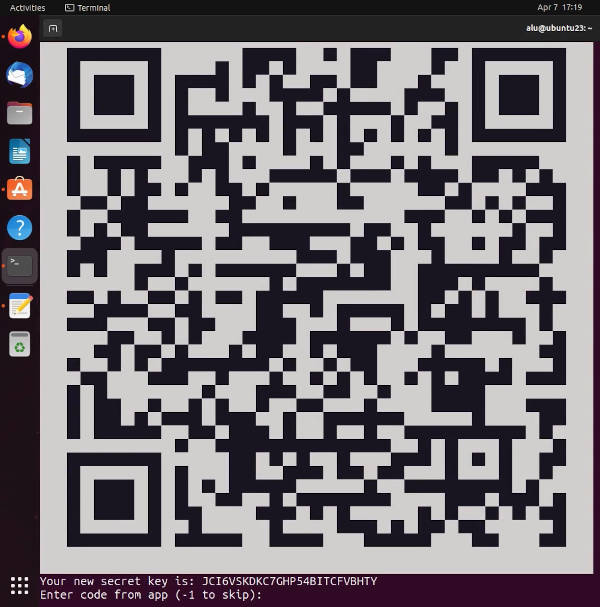
google-authenticator
接著,拿你的手機掃描 QR Code,並且輸入手機上的驗證碼。

在設定過程中,我們需要回答一些問題。
下面是推薦的設定,你可以根據自己的需求來調整。
- Make tokens “time-base”: yes
- Update the .google_authenticator file: yes
- Disallow multiple uses: yes
- Increase the original generation time limit: no
- Enable rate-limiting: yes
設定 SSH
接著,我們需要設定 SSH,讓 SSH 在登入時會要求輸入 One Time Password。1
sudo vim /etc/pam.d/sshd
在 auth 的最後一行加入 auth required pam_google_authenticator.so。1
2# PAM configuration for the Secure Shell service
auth required pam_google_authenticator.so
接著,我們需要把 ChallengeResponseAuthentication 設定為 yes。1
2
3
4
5
6# Change to yes to enable challenge-response passwords (beware issues with
# some PAM modules and threads)
ChallengeResponseAuthentication no # CHANGE THIS TO YES
# Change to no to disable tunnelled clear text passwords
#PasswordAuthentication yes
最後記得重新啟動 SSH 服務。1
sudo systemctl restart sshd
測試
在測試的時候,千萬記得留著你目前的 SSH 連線,以防萬一設定錯誤,導致無法登入。

看到 Verification code 的時候,就是要你輸入手機上的驗證碼。
如果成功登入,那就恭喜!
表示你的 One Time Password 在 Ubuntu 上設定成功了。
如何恢復
如果你在設定的時候,不小心把自己給鎖在外面了,那該怎麼辦呢?
你有幾個方式可以繼續確認設定是否正確。
- 用其他帳號登入
- 直接到實體機器上登入
- 用 Live CD 登入
最後,祝大家都可以設定成功!😀